The Painting Process Start To Finish
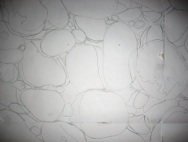
Next I draw a full size line drawing (2) on a piece of sketch paper. I then trace the full size sketch on to a piece of Arches 300 lb cold press watercolor paper. I use a light table, or put the drawing and the watercolor paper up against a window.
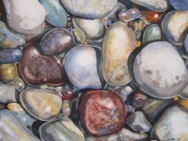
Then I paint. The first layer of the painting is then laid in (3). I work loosely within the shapes, and I don’t worry about drips or blobs or splashes. They are part of what makes watercolor so organic feeling. You’ll notice it looks quite flat and there isn’t much of a sense of light in the painting. Blobs of water and salt are used to give texture.
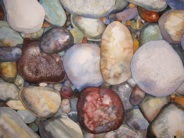
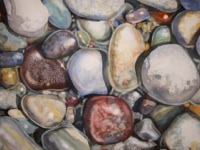
I start laying in the shading on the individual rocks (4). They don’t looks so flat now, but since they don’t have any shadows below them they look like they are floating in space.
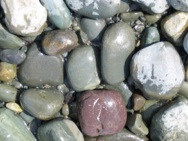
Shadows below the rocks take care of the floating ball in space look (5) and add to the 3D appearance, but there is no sense of sheen on the rocks or water. The rocks look uniformly dry.
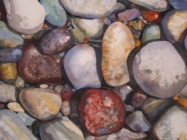
Now comes the fun part (6). With a stiff bristle brush, sand paper and a exacto knife I start lifting out and lightening some areas. I love sandpaper and the 300 lb paper can take it. Notice how the lifting out adds to the 3D look, softens some of the hard edges and gives the shiny wet look to the places where I’ve done it.

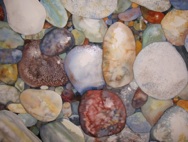
I spend a lot of time making small adjustments (7). If you look carefully you can see them. Some places get lighter, some get darker, the colors change slightly. I haven’t exactly reproduced the colors in the original photo, and that is deliberate. This is most noticeable in the large oval yellow rock, just to the right of center
Often I leave the painting alone for a day or two until I’m happy with the final work (8). Click the slide below to see a full sized image of the final work. Click HERE to see a slide show of all the images. David Dubowitz helped with the slide show by registering all the images.
